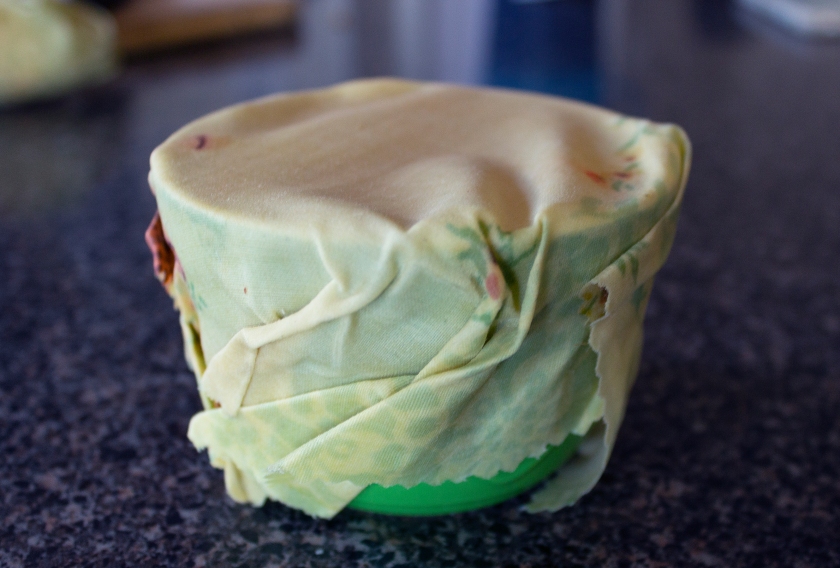
It happened. I ran out of plastic wrap. The last time this happened my Mom was in town. She swooped in and before I could do anything about it, I had another box. By the way, thanks Mom! I l love you. I try to use glass or reusable containers for most of my food storage needs but there are some circumstances that call for cling. I’ve been meaning to make beeswax wraps for a while now but was waiting until I was in desperate need to do so. I bought all the stuff I needed, found an old bed sheet and prepared for a slightly more intensive, stickier DIY than I usually attempt. All in all I’d say this was a successful first attempt. I’m new to the bees wrap game but excited to start using these bad boys and see what all the fuss is about. The best part of course is that I’m cutting down on my use of single use plastic and food waste while I’m at it.
Things you’ll need:
-
- .35 oz Pine Rosin
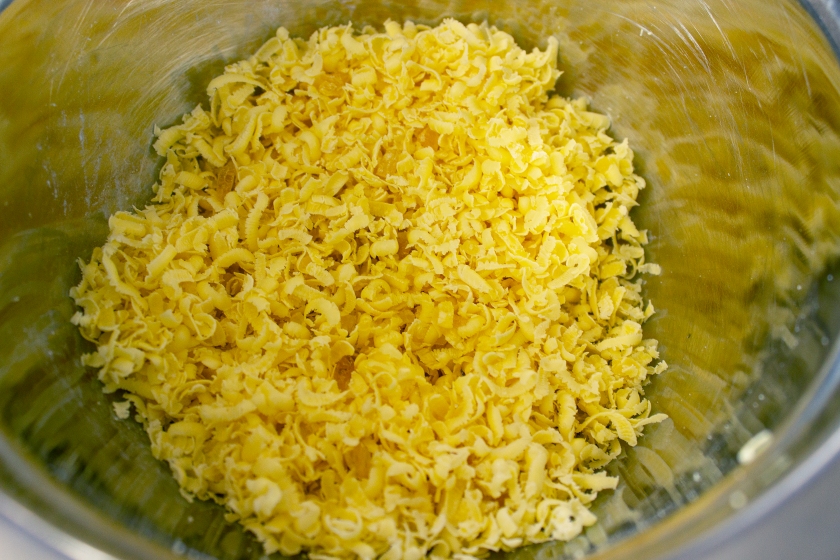
- .7 oz grated Beeswax or Beeswax pellets
- 1 Tbsp Jojoba Oil
- Cotton fabric (I used an old bed sheet)
- Pinking shears (optional but a good idea)
- paint brush
- Double boiler
- Baking sheet
- Parchment paper
Instructions:
Step 1 – Preheat oven to 300°F.
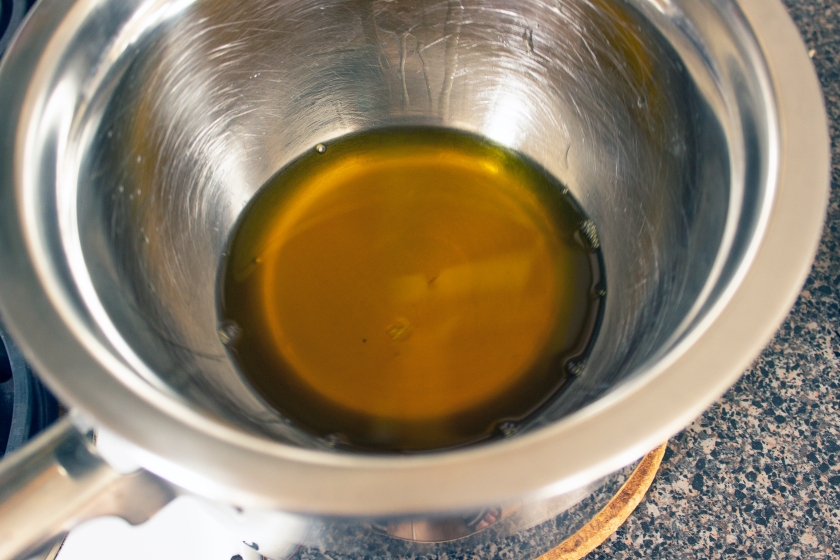
Step 2 – Mix pine rosin, beeswax and jojoba oil in a double boiler and melt over medium heat until thoroughly blended together (about 15 minutes).
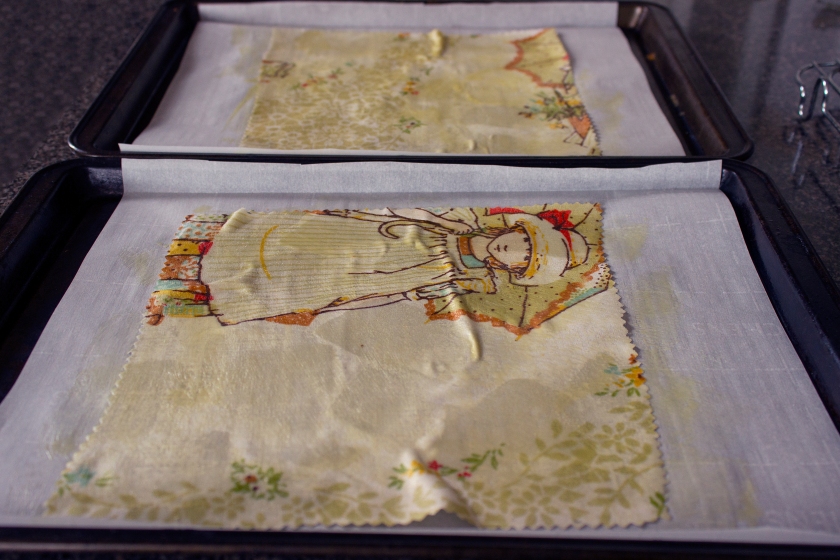
Step 3 – Pre-cut fabric and place onto parchment lined baking sheets.
Step 4 – Brush melted beeswax mixture onto fabric. It will dry fast and be uneven at this point which is totally fine.
Step 5 – Bake coated fabric for 1-2 minutes until wax remelts and the fabric looks wet.
Step 6 – Working quickly, brush the melted wax to evenly coat the fabric and wipe away the excess.
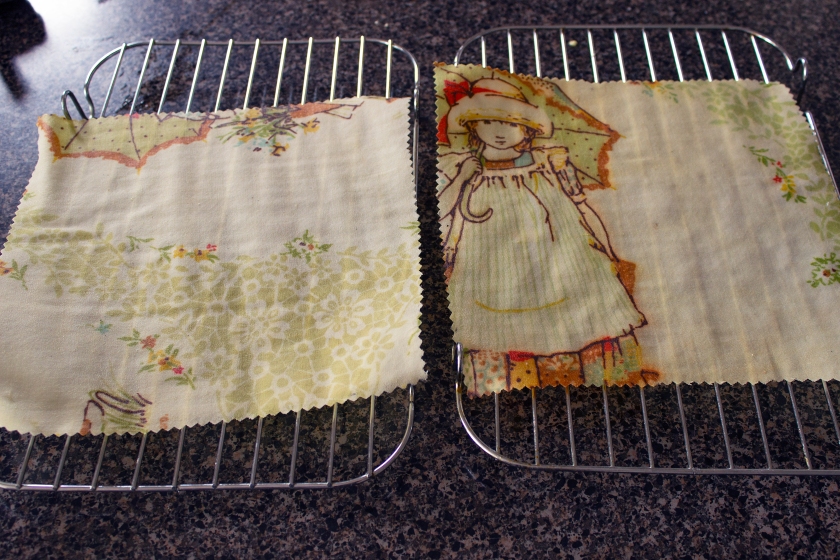
Step 7 – Let the wraps dry for at least a few minutes.